RelativeLayoutとは?
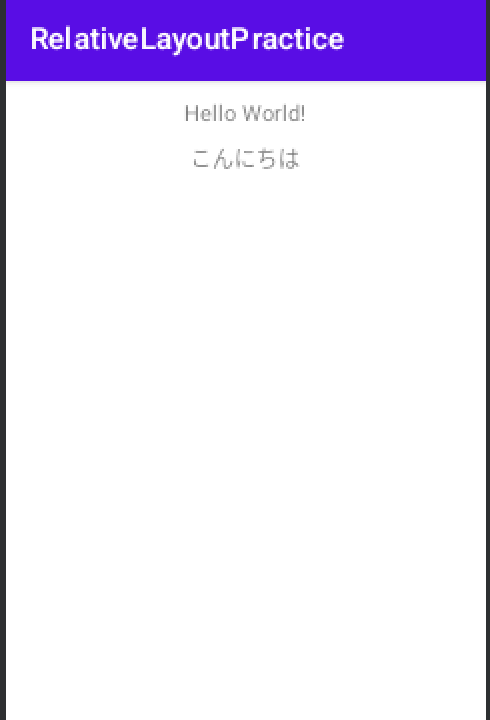 完成図
完成図RelativeLayoutとは、親と子の関係を持っているレイアウト方法です。親は何なのか子は何なのか相対的に示してデザインしていくものです。
実際にプロジェクトを作ってみていきます。
RelativeLayoutの使い方
最初にactivity_main.xmlを開くと、
<?xml version="1.0" encoding="utf-8"?>
<androidx.constraintlayout.widget.ConstraintLayout xmlns:android="http://schemas.android.com/apk/res/android"
xmlns:app="http://schemas.android.com/apk/res-auto"
xmlns:tools="http://schemas.android.com/tools"
android:layout_width="match_parent"
android:layout_height="match_parent"
tools:context=".MainActivity">

<TextView
android:layout_width="wrap_content"
android:layout_height="wrap_content"
android:text="Hello World!"
app:layout_constraintBottom_toBottomOf="parent"
app:layout_constraintEnd_toEndOf="parent"
app:layout_constraintStart_toStartOf="parent"
app:layout_constraintTop_toTopOf="parent" />

</androidx.constraintlayout.widget.ConstraintLayout>
というふうに書いてあります。一番大きなタグを見てみると、ConstraintLayoutと書いてあり、デフォルトではRelativeLayoutは使ってないことがわかります。
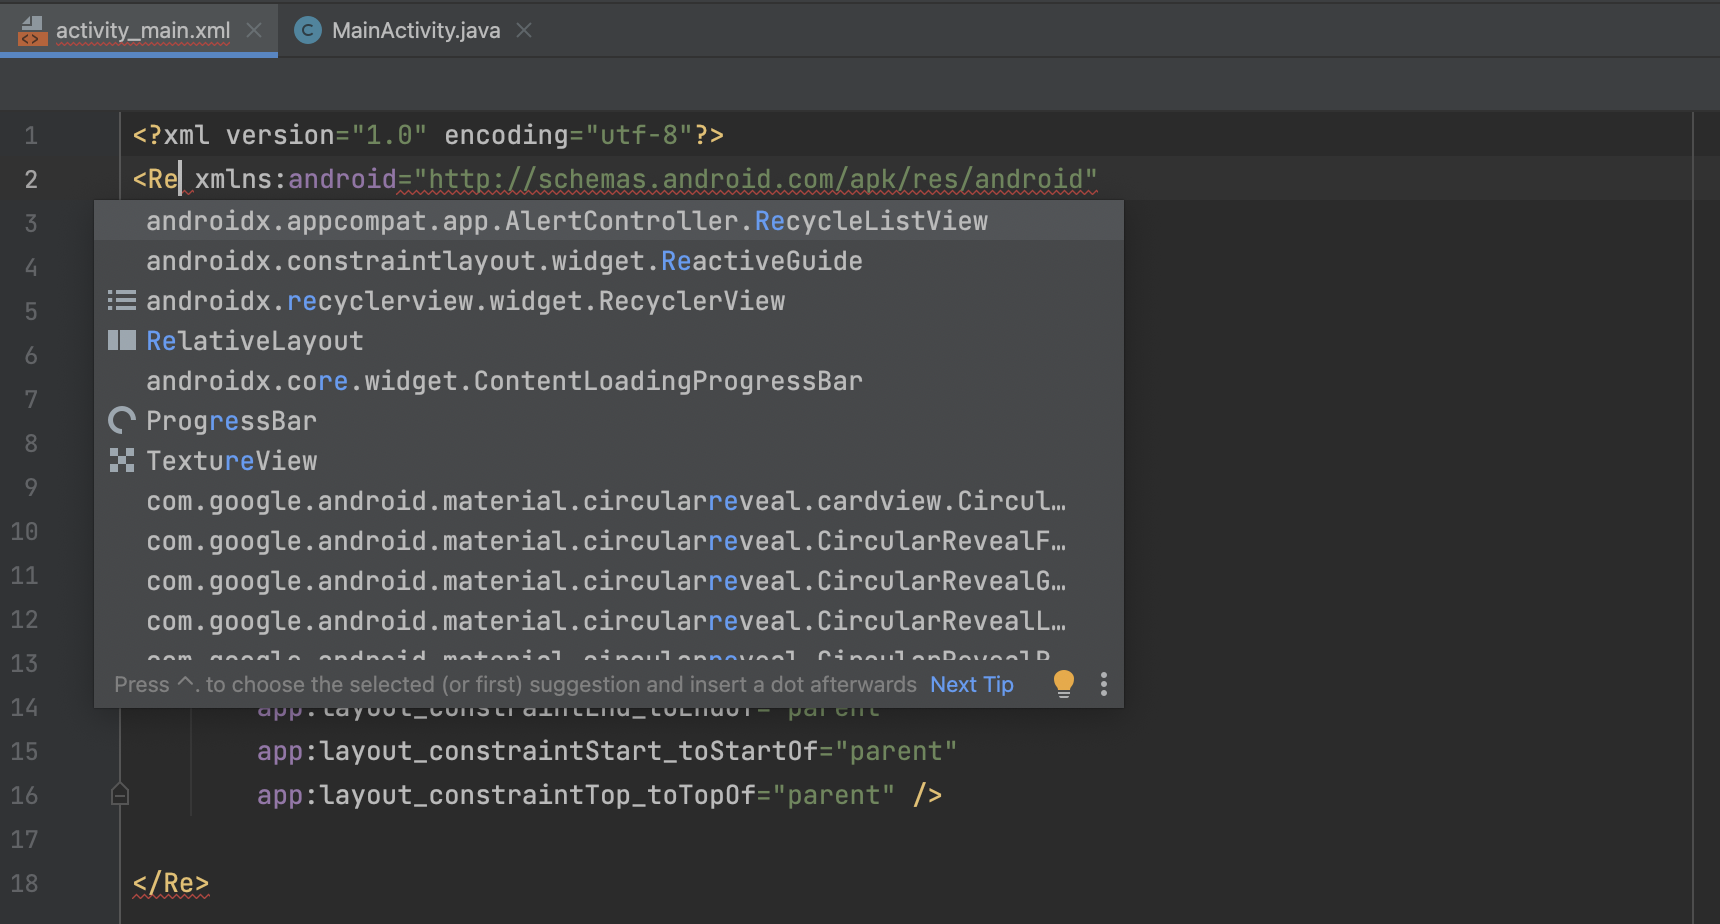
RelativeLayoutを使うには、この一番大きなタグを変えます。
以下のようにしてください。
<?xml version="1.0" encoding="utf-8"?>
<RelativeLayout xmlns:android="http://schemas.android.com/apk/res/android"
xmlns:app="http://schemas.android.com/apk/res-auto"
xmlns:tools="http://schemas.android.com/tools"
android:layout_width="match_parent"
android:layout_height="match_parent"
tools:context=".MainActivity">

<TextView
android:layout_width="wrap_content"
android:layout_height="wrap_content"
android:text="Hello World!"
app:layout_constraintBottom_toBottomOf="parent"
app:layout_constraintEnd_toEndOf="parent"
app:layout_constraintStart_toStartOf="parent"
app:layout_constraintTop_toTopOf="parent" />

</RelativeLayout>
xmlns: androidよりも前のコードを削除して、Reと打てば変換候補にRelativeLayoutと出てくるのでエンターを押すと、下側のタグも自動で切り替わってくれます。
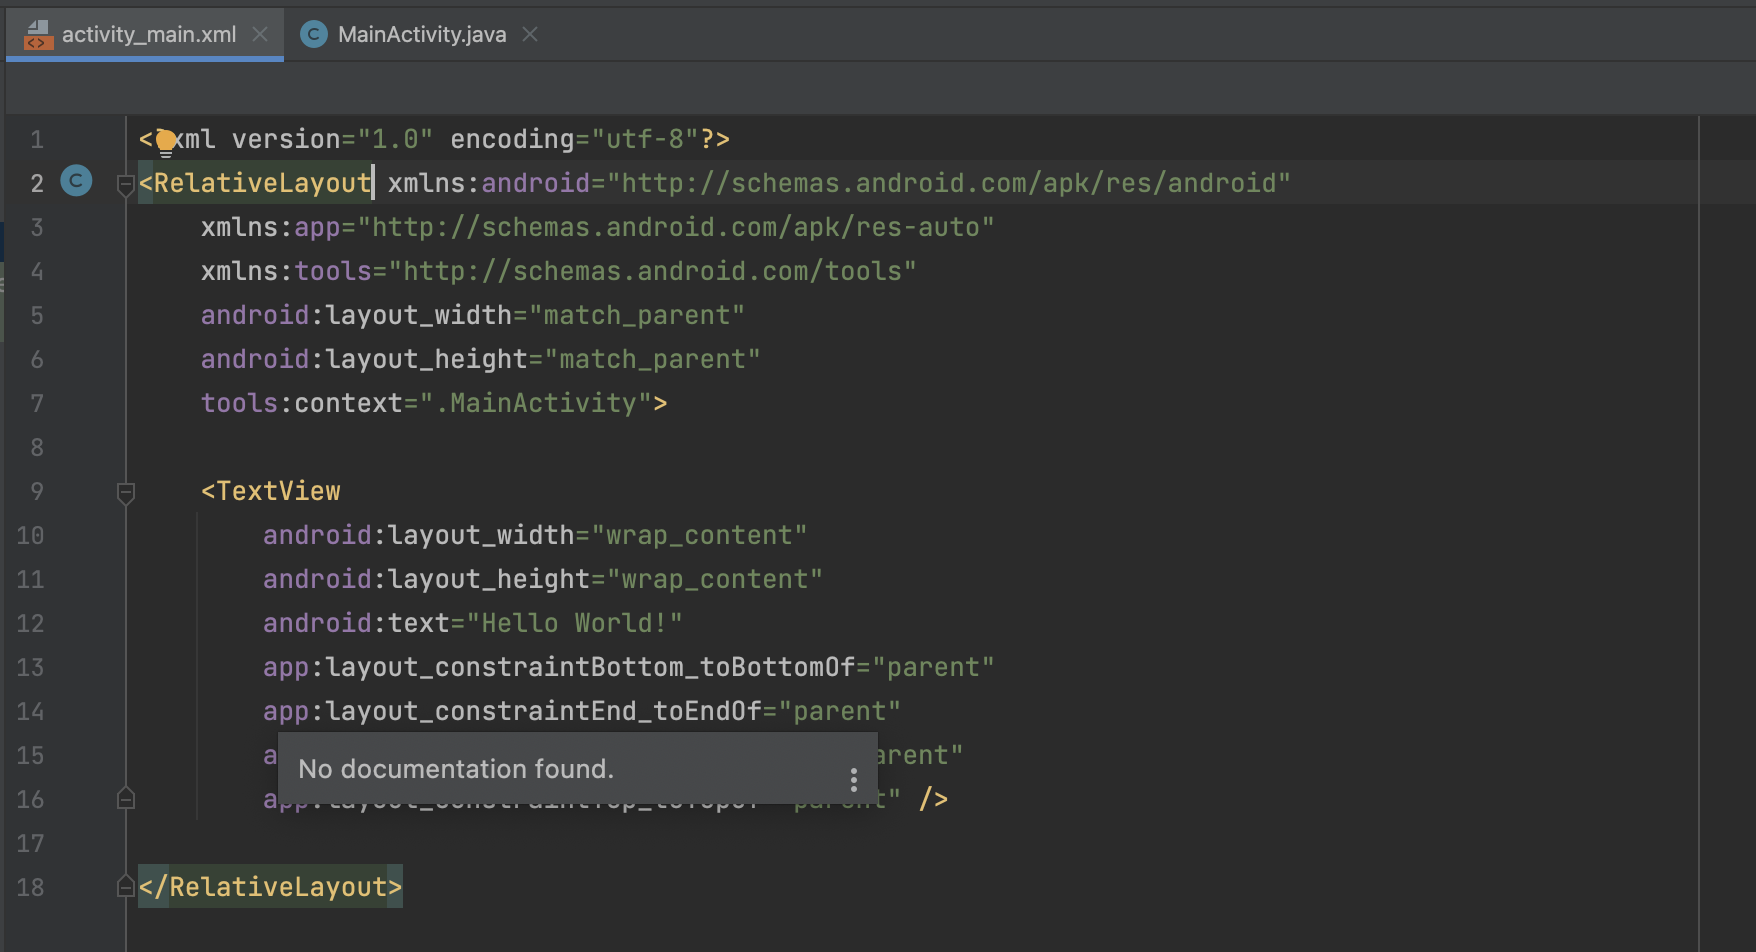
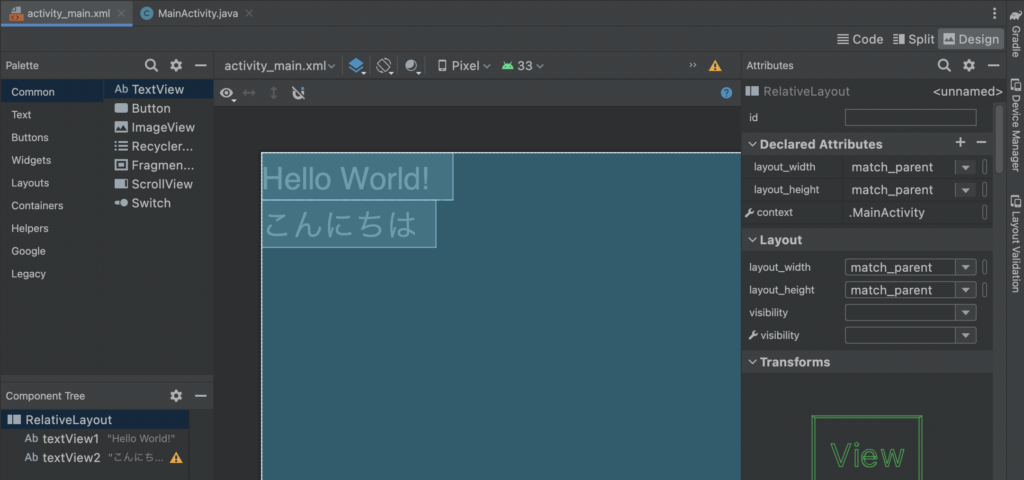
この画面になっていたらOKです。
これでRelativeLayoutを使う準備が整いました。
RelativeLayoutで親の明示をする
実際に使うには、まず親を決めてあげないといけません。相対的なのでどれと相対的にするか明示してあげるということです。
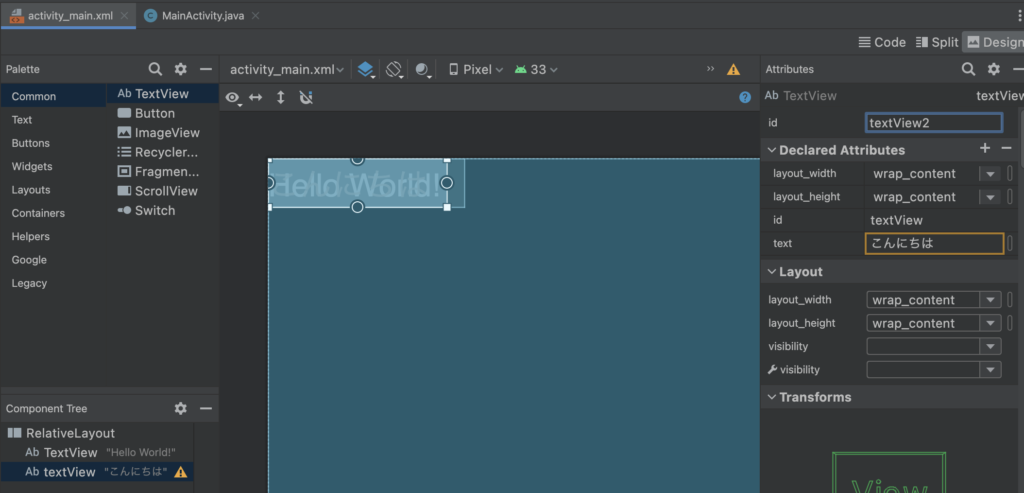
適当にDesignタブからでもCodeタブからでもいいので、TextViewを配置してid名を好きにつけてください。
僕は、最初から配置してあるHello World!はtextView1、新しく追加したTextViewをtextView2というid名にしました。右上のidから変更することもできますし、Code上からでも
<TextView
    android:id="@+id/textView2"
    ...
    />
この”@+id/textView2″のtextView2を好きなidに変えてください。
RelativeLayoutなので、どこに配置しようとも必ずHelloWorld!のTextViewと重なって表示されると思います。
次に
android:layout_below="@id/textView1"layout_belowを使って親を指定します。
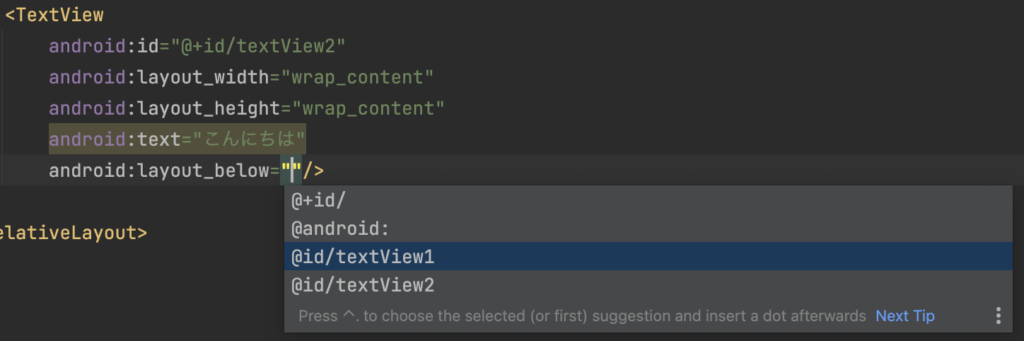
今回は、こんにちはというTextViewをHelloWorld!のTextViewの下に配置したかったので、親をtextView1のid名がついているTextViewにしました。
そうすると、Designタブに変更してみてみると、下にしっかり配置されていると思います。
ここからはご自身の好きな配置方法にしてください。
僕は真ん中に綺麗に配置したいと思い、以下のようにコードを追加しました。
<TextView
android:id="@+id/textView1"
android:layout_width="wrap_content"
android:layout_height="wrap_content"
android:text="Hello World!"
android:layout_centerHorizontal="true"
android:layout_marginTop="10dp"/>

<TextView
android:id="@+id/textView2"
android:layout_width="wrap_content"
android:layout_height="wrap_content"
android:text="こんにちは"
android:layout_below="@id/textView1"
android:layout_centerHorizontal="true"
android:layout_marginTop="10dp" />android:layout_centerHorizontal="true"で横の中央配置にします。Horizontalは水平という意味ですね。
android:layout_marginTop="10dp"でmargin(余白)を10dp指定しています。
他にもこんな感じでたくさん使えるので、自分の作りたいデザインに合わせてコードを追加してみてください。
RelativeLayoutのコード一覧
| layout_alignParentLeft | 親レイアウトの左端に配置 |
|---|---|
| layout_alignParentRight | 親レイアウトの右端に配置 |
| layout_alignParentTop | 親レイアウトの上端に配置 |
| layout_alignParentBottom | 親レイアウトの下端に配置 |
| layout_centerInParent | 親レイアウトの中央に配置 |
| layout_toLeftOf | 指定 View の左側に配置 |
|---|---|
| layout_toRightOf | 指定 View の右側に配置 |
| layout_above | 指定 View の上側に配置 |
| layout_below | 指定 View の下側に配置 |
| layout_alignLeft | 指定 View の左端ラインに合わせて配置 |
| layout_alignRight | 指定 View の右端ラインに合わせて配置 |
| layout_alignStart | 指定 View の左端ラインに合わせて配置 |
| layout_alignEnd | 指定 View の右端ラインに合わせて配置 |
| layout_alignTop | 指定 View の上端ラインに合わせて配置 |
| layout_alignBottom | 指定 View の下端ラインに合わせて配置 |
| layout_alignBaseline | 指定 View のテキストのラインに合わせて配置 |
| layout_marginLeft | 現在位置の左側に指定幅の余白を設定 |
|---|---|
| layout_marginRight | 現在位置の右側に指定幅の余白を設定 |
| layout_marginTop | 現在位置の上側に指定幅の余白を設定 |
| layout_marginBottom | 現在位置の下側に指定幅の余白を設定 |